Python Guide for OpenAI Text Generation API
Want to integrate OpenAI's text generation capabilities into your Python projects? This guide shows you how to set up, secure, and use the OpenAI API for tasks like generating natural text, code snippets, or structured data. Here's what you'll learn:
- Why Python? Simple syntax, robust libraries, and seamless compatibility with OpenAI's SDK.
-
Setup Essentials: Install the
openailibrary, configure API keys securely, and test your environment. - Best Practices: Manage API keys safely, write effective prompts, and handle errors with retry logic.
- Advanced Features: Fine-tune models, cache responses, and manage conversation context for better performance.
- Comparison: OpenAI vs. NanoGPT - explore privacy-focused, pay-as-you-go alternatives.
Quick Comparison: OpenAI vs. NanoGPT
| Aspect | OpenAI | NanoGPT |
|---|---|---|
| Pricing | Token-based ($0.0004–$0.02 per 1k tokens) | Pay-as-you-go ($0.10 minimum) |
| Data Privacy | Cloud storage | Local storage |
| Model Access | OpenAI models only | Multiple providers |
| Fine-tuning | Built-in support | Custom options |
Whether you're a developer, data scientist, or AI researcher, this guide equips you with everything you need to start building with OpenAI's API or explore alternatives like NanoGPT.
Text-Generation App with OpenAI Python API & Streamlit
Python Setup Requirements
Setting up Python involves installing the necessary packages and configuring your API keys securely.
Required Python Packages
To get started, you'll need the official OpenAI Python library for API communication and the os package for managing your API key securely.
| Package | Purpose | Installation Command |
|---|---|---|
openai |
Handles API functionality | pip install --upgrade openai |
os |
Manages environment variables | Built into Python |
python |
Base language (v3.7 or newer) | Use your system's Python installer |
Begin by importing the required libraries:
from openai import OpenAI
import os
OpenAI API Key Setup
To securely use the OpenAI API, follow these steps to set up your API key:
-
Generate Your API Key
Head to the OpenAI dashboard and create your unique API key. -
Set Up Environment Variables
For Windows:
- Open System Properties.
- Go to Advanced system settings > Environment Variables.
-
Add a new system variable named
OPENAI_API_KEY. - Set the value to your API key.
Use these commands in your terminal:echo 'export OPENAI_API_KEY=your-api-key' >> ~/.zshrc source ~/.zshrc
"We recommend that you set the name of the variable to OPENAI_API_KEY. By keeping this variable name consistent across your team, you can commit and share your code without the risk of exposing your API key." - OpenAI Help Center
Development Environment Setup
Ensure you're using Python 3.7 or later for compatibility with the OpenAI API. Test your setup with this script:
from openai import OpenAI
import os

client = OpenAI(api_key=os.environ.get("OPENAI_API_KEY"))

# Test the connection
try:
    response = client.models.list()
    print("Setup successful!")
except Exception as e:
    print(f"Setup failed: {e}")
Once your environment is configured and tested, you're ready to move forward while keeping your API keys secure.
API Key Security
Protect your OpenAI API keys to avoid unauthorized access and misuse. Use the methods below to keep your keys secure.
Storing API Keys
Store API keys securely using environment variables or a Key Management Service (KMS). Here are some reliable storage options:
| Storage Method | Security Level | Best Used For |
|---|---|---|
| Environment Variables | High | Development & Testing |
| Cloud KMS | Very High | Production Systems |
| Configuration Files | Medium | Local Development |
| Database (Encrypted) | High | Multi-user Systems |
"Exposing your OpenAI API key in client-side environments like browsers or mobile apps allows malicious users to take that key and make requests on your behalf – which may lead to unexpected charges or compromise of certain account data. Requests should always be routed through your own backend server where you can keep your API key secure." - OpenAI Help Center
Once you have chosen a secure storage option, ensure your code uses the keys safely.
API Key Implementation
Follow these practices to use your API keys securely in your application:
# Secure implementation with validation and tracking
from functools import wraps
from time import time

def validate_api_key(func):
    @wraps(func)
    def wrapper(*args, **kwargs):
        api_key = os.getenv('OPENAI_API_KEY')
        if not api_key:
            raise ValueError("Invalid API key configuration")
        kwargs['request_time'] = time()
        return func(*args, **kwargs)
    return wrapper

@validate_api_key
def make_api_request(**kwargs):
    client = OpenAI(api_key=os.getenv('OPENAI_API_KEY'))
    # Your API call logic here
API Key Management
Proper management of your API keys is critical for maintaining security. Use these practices:
- Key Rotation Policy: Regularly rotate your keys and revoke any that are compromised.
- Usage Monitoring: Use OpenAI's dashboard metrics to set alerts for unusual activity.
- Access Control: Limit who or what has access to your keys.
# Example of implementing usage limits
def check_usage_limits(api_key):
    usage = get_current_usage(api_key)
    max_daily_limit = 1000  # Example limit in requests
    if usage > max_daily_limit:
        raise Exception("Daily usage limit exceeded")
"Committing an API key to source code is a common vector for credential compromise. For those with public repositories, this is a common way that you can unknowingly share your key with the internet. Private repositories are more secure, but a data breach can also result in your keys being leaked." - OpenAI Help Center
sbb-itb-903b5f2
Text Generation Basics
Learn how to use the OpenAI API effectively by understanding its request structure, crafting precise prompts, and managing potential errors.
API Request Structure
The OpenAI API uses a structured system for handling HTTP requests, which is managed easily with the official Python library. Here's an example:
import openai
openai.api_key = "YOUR_API_KEY"

response = openai.ChatCompletion.create(
    model="gpt-4",
    messages=[
        {"role": "system", "content": "You are a helpful assistant."},
        {"role": "user", "content": "Write a product description for a coffee maker."}
    ],
    temperature=0.7,
    max_tokens=150
)
"The API expects a JSON request body, not a form-encoded request. And, you need to use the
requests.post()method to send the right HTTP method." - Martijn Pieters
Once the structure is set, focus on creating prompts that guide the model effectively.
Writing Effective Prompts
Crafting clear and structured prompts is key to getting accurate responses from the model. Consider these elements:
| Prompt Element | Purpose | Example |
|---|---|---|
| Instruction | Define the task | "Write a TypeScript function to..." |
| Context | Provide background | "For an e-commerce checkout system..." |
| Format | Specify output structure | "Return the response as JSON..." |
| Constraints | Set boundaries | "Keep the response under 100 words..." |
Tips for Better Prompts:
- Be specific and detailed: Clearly outline the desired outcome, context, and format. For example, instead of saying, "Describe a product", try, "Write a 100-word product description for a high-end coffee maker, focusing on its features and benefits."
-
Use delimiters: Use markers like
###or triple quotes to separate instructions from content. This helps the model understand the structure of your request. - Break down complex tasks: If your request is complicated, divide it into smaller, simpler components. This increases the likelihood of getting accurate results.
Error Management
To ensure smooth API operations, implement error handling using try-except blocks. Here's an example:
try:
    response = openai.ChatCompletion.create(
        model="gpt-4",
        messages=[{"role": "user", "content": prompt}]
    )
except openai.APIError as e:
    logging.error(f"OpenAI API error: {str(e)}")
    retry_count += 1
    if retry_count <= max_retries:
        time.sleep(2 ** retry_count)  # Exponential backoff
        continue
Common error types and their solutions:
| Error Type | Common Cause | Solution |
|---|---|---|
| APIConnectionError | Network issues | Use retry logic with exponential backoff |
| RateLimitError | Too many requests | Throttle requests and implement queuing |
| AuthenticationError | Invalid API key | Double-check API key and permissions |
| BadRequestError | Malformed request | Validate request parameters before submission |
For production environments, include detailed logging and monitoring to track API performance and troubleshoot issues. This helps you spot patterns and refine your setup over time.
Advanced Features
These advanced techniques help improve API performance beyond basic integration.
Model Fine-tuning
Fine-tuning adjusts models for specific tasks, improving results and cutting prompt costs.
import openai

client = OpenAI()
# Create a fine-tuning job
response = client.fine_tuning.jobs.create(
    training_file="file-abc123",
    model="gpt-3.5-turbo-0125",
    hyperparameters={
        "n_epochs": 3,
        "learning_rate_multiplier": 0.1
    }
)
"Fine-tuning lets you get more out of the models available through the API by providing: Higher quality results than prompting, Ability to train on more examples than can fit in a prompt, Token savings due to shorter prompts, Lower latency requests" - OpenAI API
After fine-tuning, enhance performance further with response caching.
Response Caching
Response caching helps reduce latency and costs for repeated prompts exceeding 1,024 tokens.
import hashlib
from functools import lru_cache

@lru_cache(maxsize=1000)
def get_cached_response(prompt_hash):
    return client.chat.completions.create(
        messages=[{"role": "user", "content": prompt_hash}],
        model="gpt-4o"
    )

def generate_response(prompt):
    # Create a hash of the prompt for a cache key
    prompt_hash = hashlib.md5(prompt.encode()).hexdigest()
    return get_cached_response(prompt_hash)
Tips for effective caching:
- Place static content at the start of prompts for consistency.
- Standardize request patterns to maximize cache hits.
- Regularly monitor cache performance and adjust expiration times as needed.
Context Management
Maintaining conversation context ensures coherent and meaningful interactions. This involves tracking message history while staying within token limits.
class ConversationManager:
    def __init__(self, max_history=10):
        self.history = []
        self.max_history = max_history

    def add_message(self, role, content):
        self.history.append({"role": role, "content": content})
        if len(self.history) > self.max_history:
            self.history.pop(0)

    def get_conversation(self):
        return [
            {"role": "system", "content": "You are a helpful assistant."},
            *self.history
        ]
Key elements of context management:
- Message History: Keep a record of messages to maintain the flow.
- Context Window: Use a rolling window to stay within token limits.
- System Messages: Set a consistent initial message to define behavior.
For longer conversations, implement context pruning to manage token usage effectively.
NanoGPT Integration
If you're exploring alternatives to OpenAI's API, NanoGPT is worth considering. It offers a different approach to text generation, emphasizing privacy and a more flexible pricing model.
NanoGPT Features
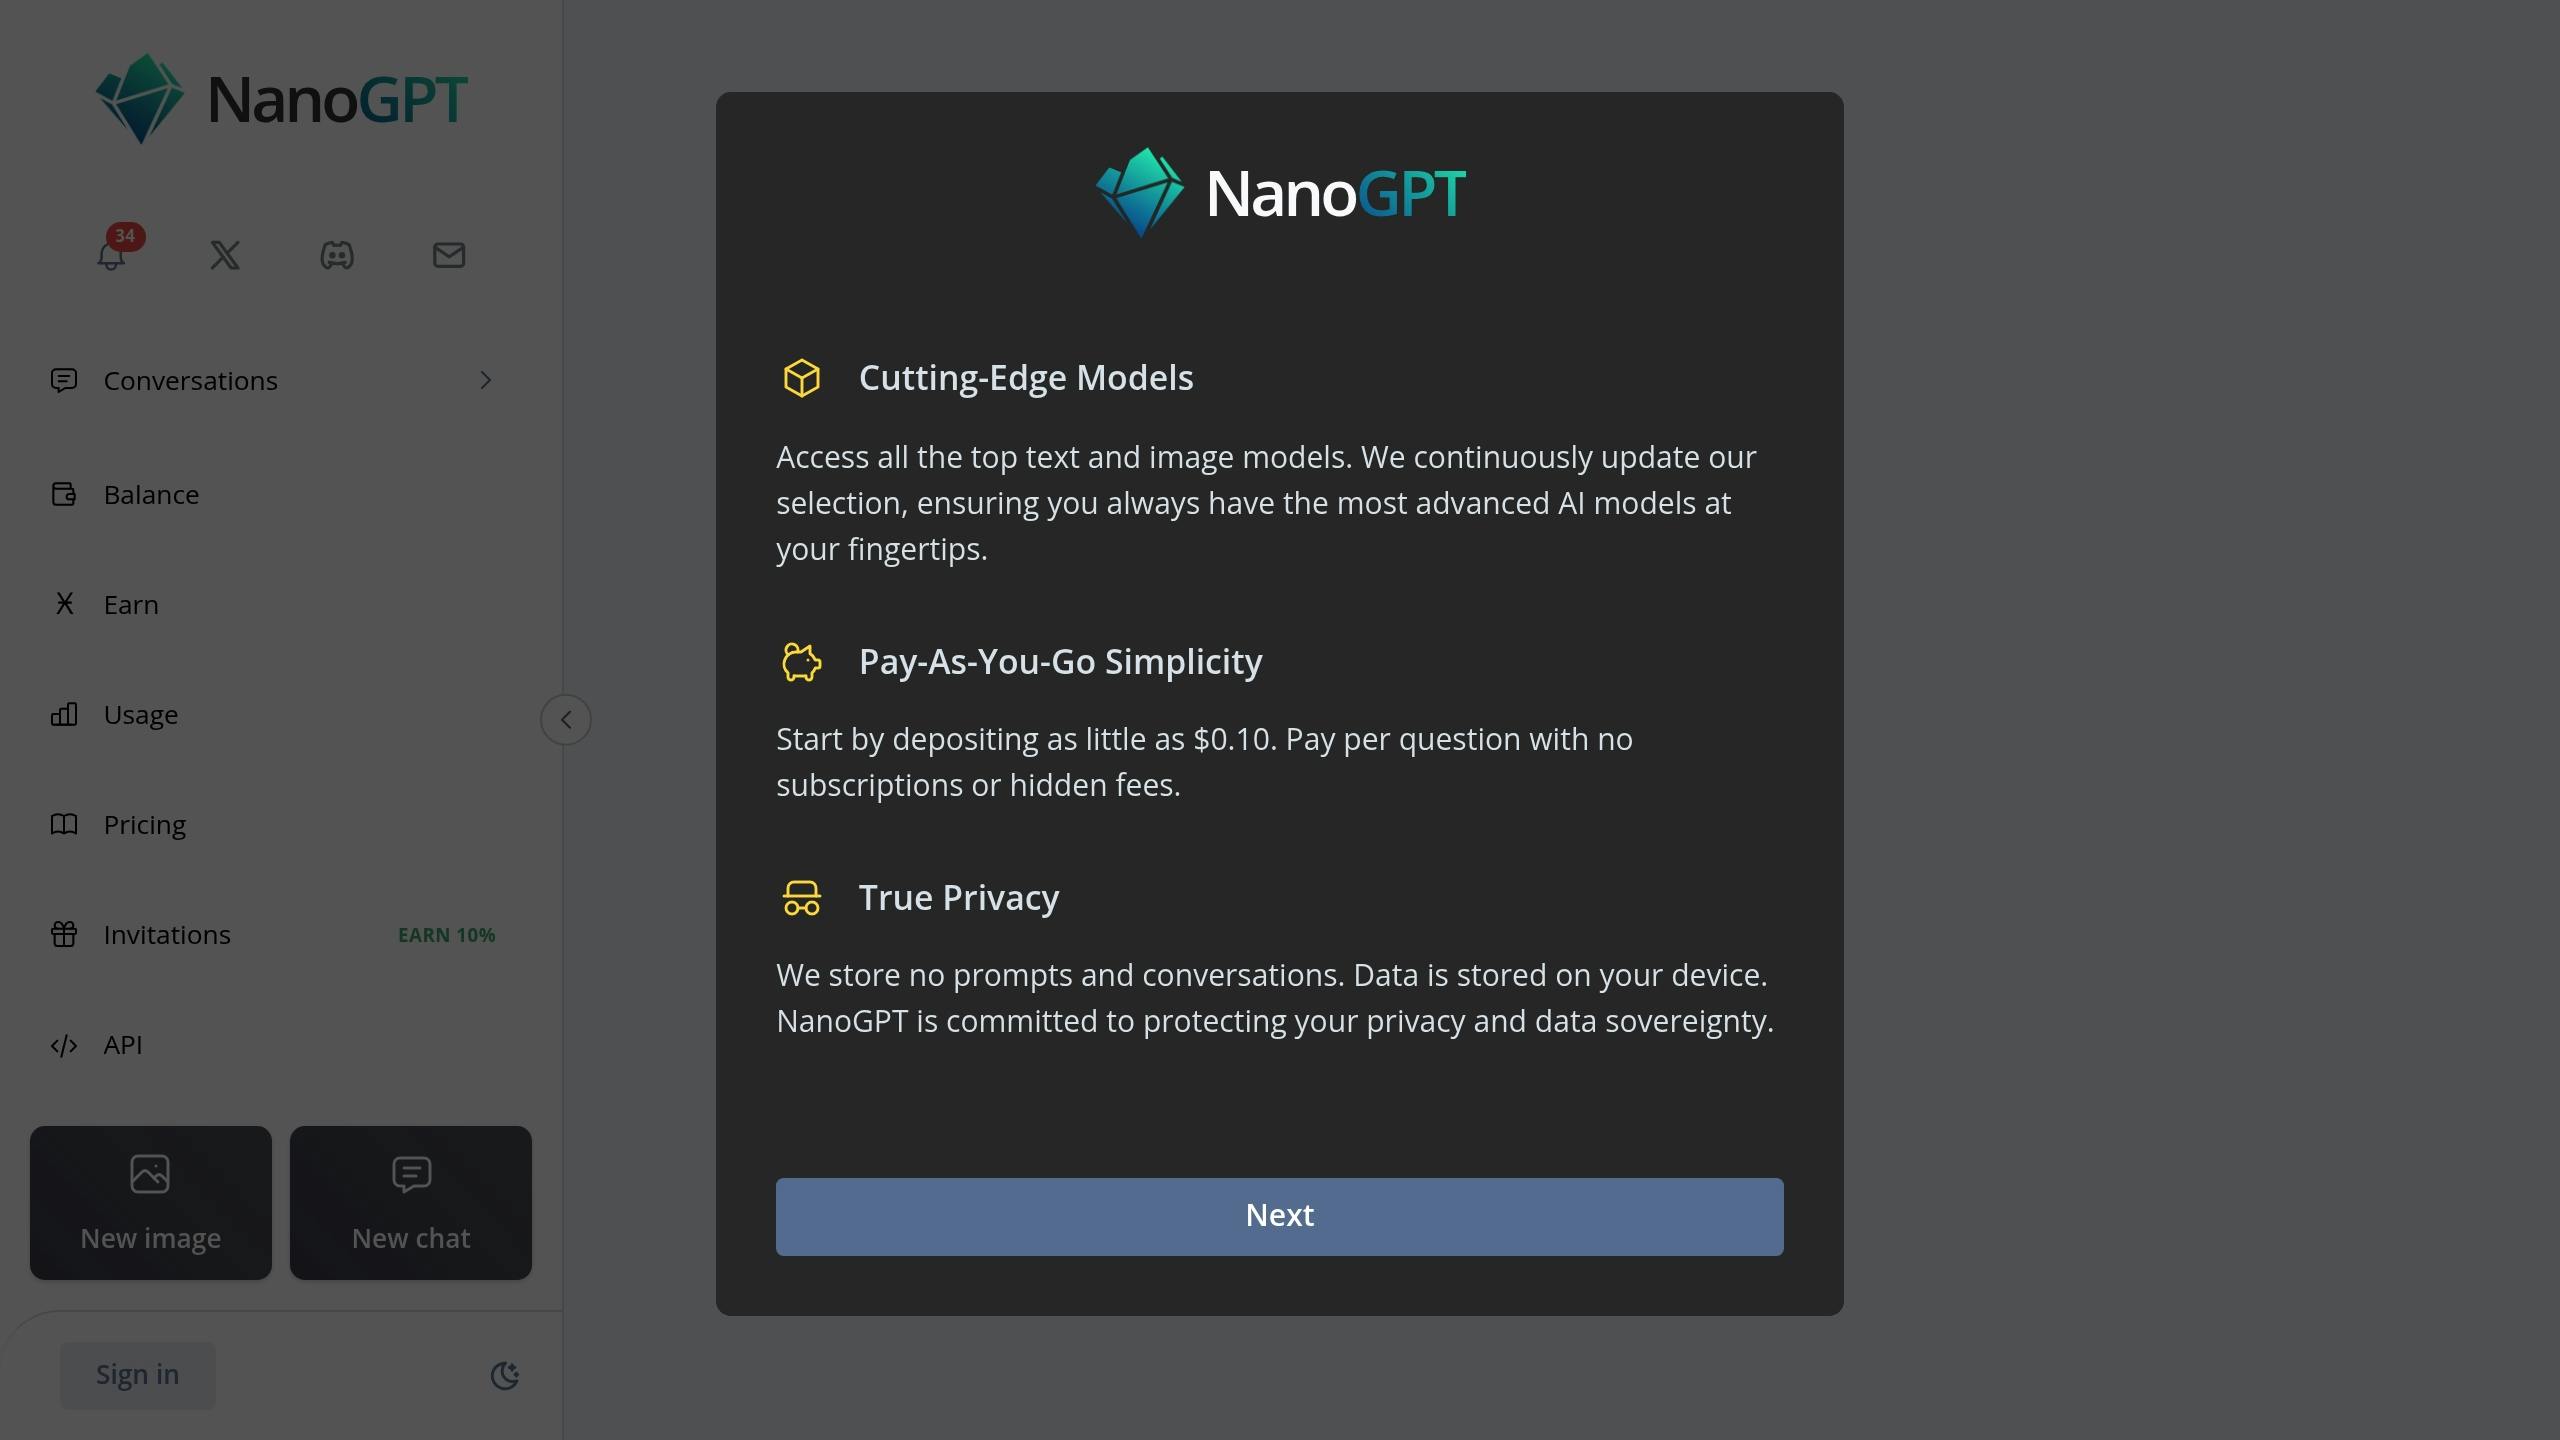
NanoGPT provides access to several AI models while ensuring user data stays private. Here’s a quick breakdown of its standout features:
| Feature | Description | Benefit |
|---|---|---|
| Local Data Storage | Prompts and conversations are stored on your device | Better privacy and control over your data |
| Pay-as-you-go Pricing | Start with just $0.10 | No need for subscriptions or high upfront costs |
| Multi-model Access | Options include ChatGPT, Deepseek, Gemini, and Flux Pro | Choose the model that fits your needs |
| Image Generation | Supports Dall-E and Stable Diffusion | Broadens creative possibilities |
NanoGPT Developer Tools
OpenAI vs NanoGPT
Here’s how NanoGPT compares to OpenAI in key areas to help you decide what works best for your application:
| Aspect | OpenAI | NanoGPT |
|---|---|---|
| Pricing | Token-based ($2.50/1M input tokens for GPT-4o) | Pay-as-you-go ($0.10 minimum) |
| Data Privacy | Cloud storage | Local storage on your device |
| Model Access | OpenAI models only | Multiple providers |
| Implementation | Direct API integration | Server-based setup |
| Fine-tuning | Built-in support | Custom training options |
"We store no prompts and conversations. Data is stored on your device. NanoGPT is committed to protecting your privacy and data sovereignty." - NanoGPT
If privacy or budget concerns are top of mind, NanoGPT’s local storage and flexible pricing make it a strong option for text-generation projects in Python.
Summary
Main Points
To integrate the API, you'll need to install the OpenAI library, set up API keys using environment variables, and handle errors using Python's try-except blocks.
Here are the key components to focus on:
| Component | Description | Recommended Approach |
|---|---|---|
| API Key Management | Authentication credentials | Store keys securely in environment variables |
| Model Selection | Choosing a GPT model | Opt for gpt-3.5-turbo for balanced cost and performance |
| Token Management | Monitoring usage | Define token limits for each request |
| Error Handling | Managing exceptions | Use detailed try-except blocks for error control |
Additional AI Tools
You can enhance your OpenAI integration by exploring other platforms that provide strong text-generation capabilities:
-
Enterprise Solutions
IBM Watson is ideal for large-scale AI deployments, while Lightning AI focuses on PyTorch Lightning for custom model training. -
Research and Development
Hugging Face is a go-to for pre-trained models and collaborative AI tools. Their platform offers detailed documentation and community-driven resources.
Learning Resources
To improve your implementation, you can leverage these resources:
| Resource Type | Description | Focus Area |
|---|---|---|
| Official Documentation | OpenAI's detailed guides | API setup and best practices |
| Code Examples | Ready-to-use Python scripts | Text generation and model interaction |
| Community Forums | Developer Q&A and discussions | Troubleshooting and optimization |
| Framework Guides | Tutorials for PyTorch, TensorFlow, and JAX | Framework-specific implementations |
The OpenAI Python library documentation offers practical examples for a range of scenarios, from basic text generation to advanced features like fine-tuning and caching.